Requested Workouts Tab
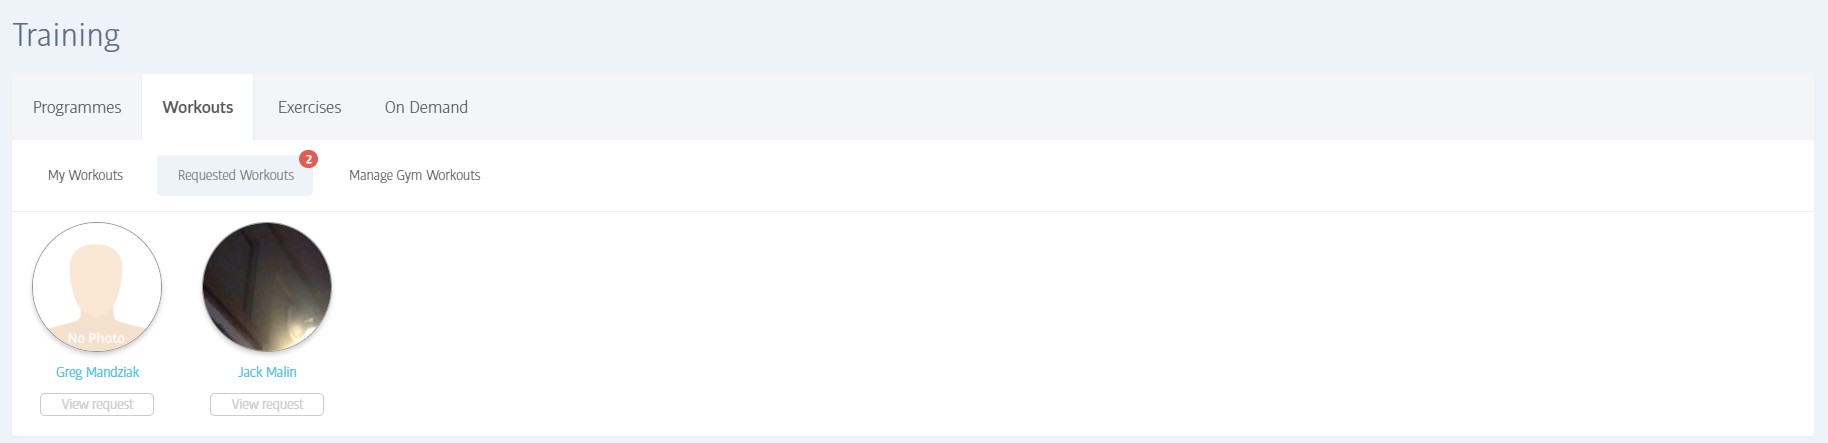
The Requested Workouts tab is designed especially for trainers; it is where their assigned members can request a workout that will help them meet their goals.
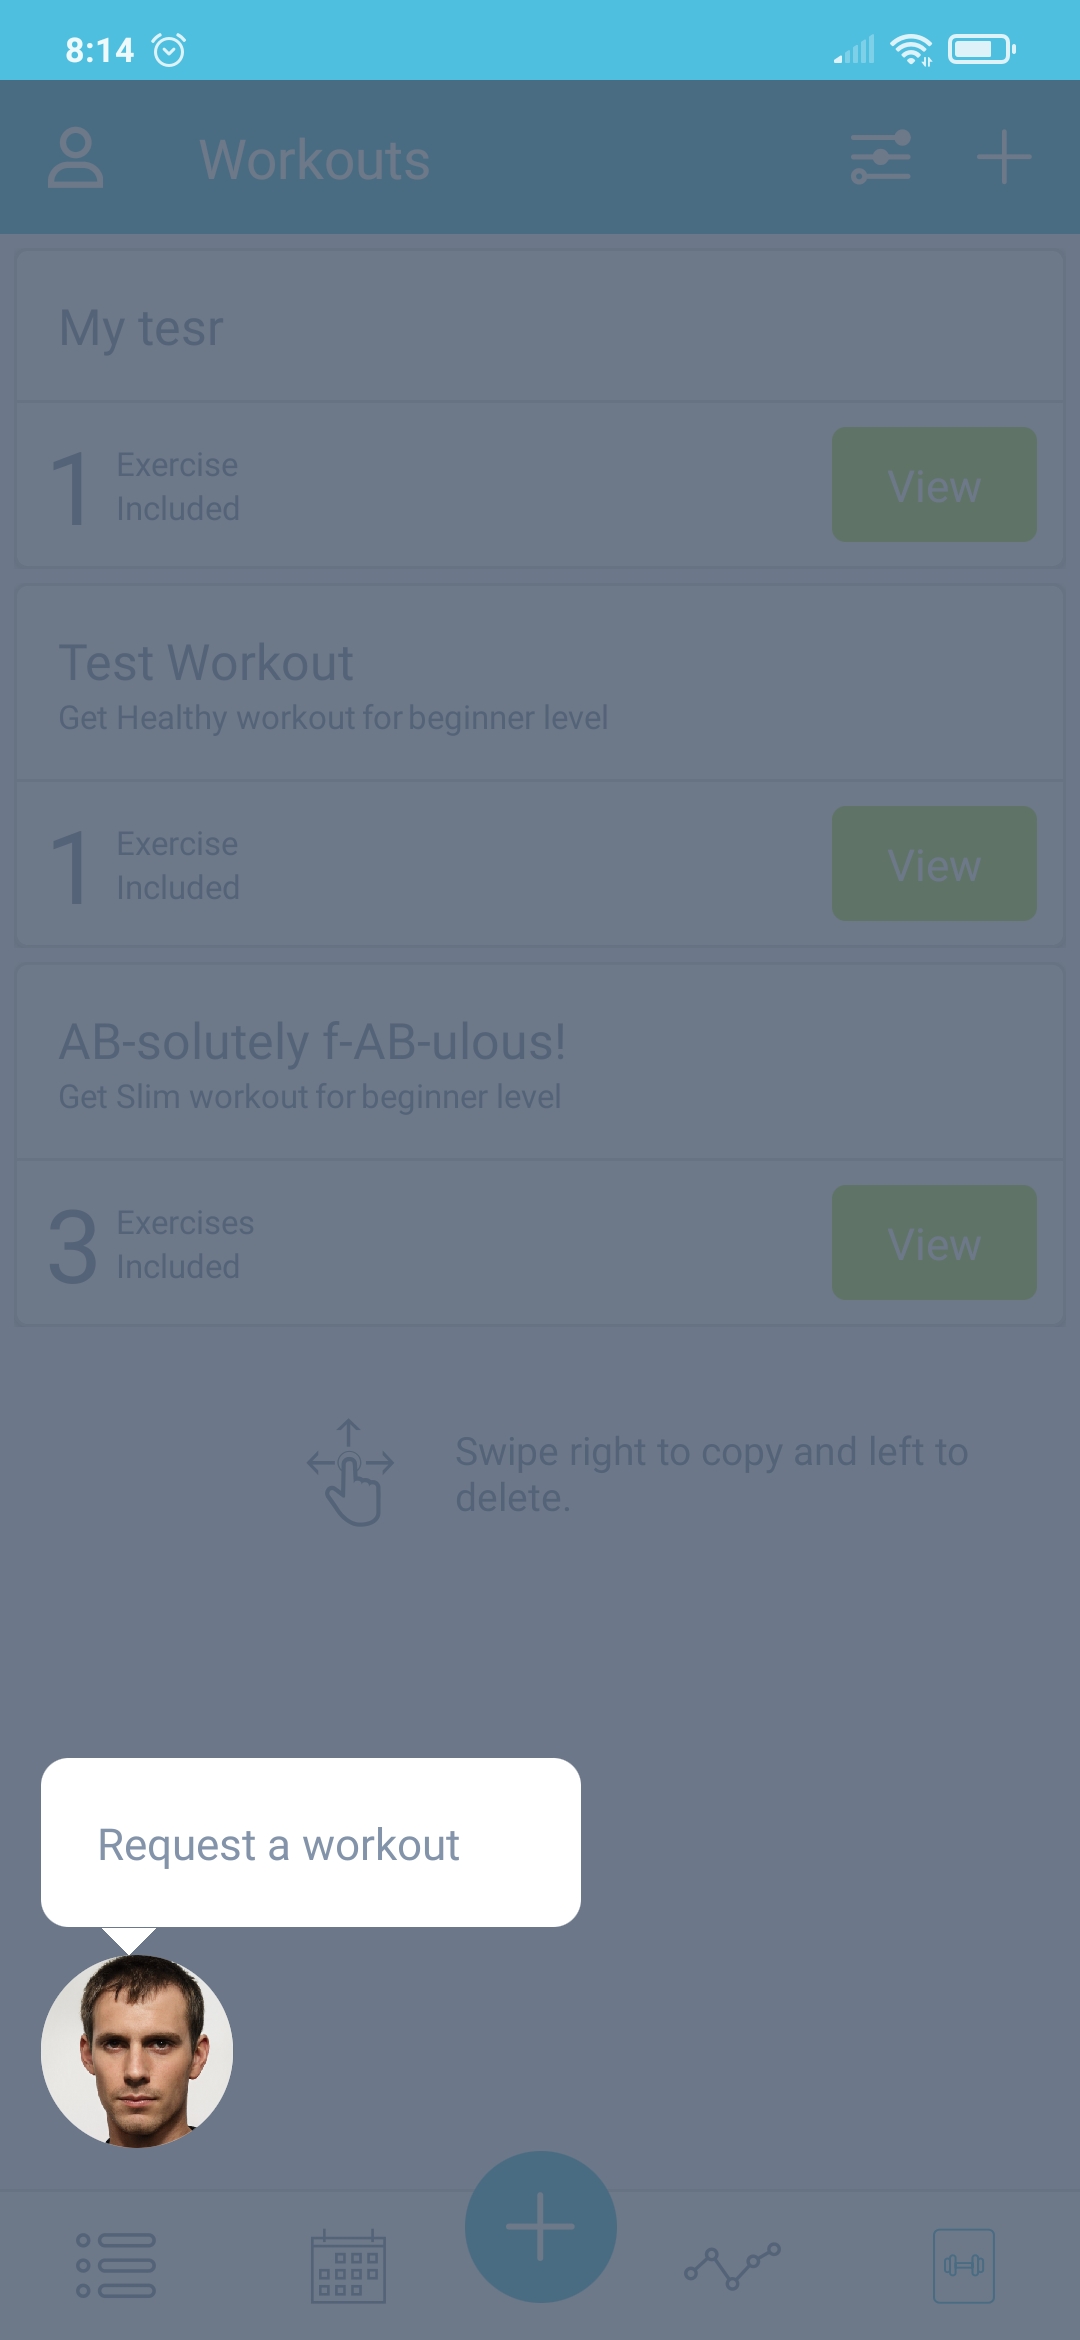
All gym members can browse and download the workouts listed on the Manage Gym Workouts Tab, but they might not find something that really suits their current needs. In these situations, the user can request a workout from their trainer by clicking on the picture of their trainer at the bottom of the screen in the Membr app:
When the member clicks the icon, they can provide some basic details about the kind of workout they need, along with their experience level and any notes. The entire request is then sent to their trainer, and will arrive on that trainer's Requested Workouts Tab as shown in the screenshot at the top of the page. Requests show as a red number on the tab, and can be seen at all times, even if the tab is not selected.
Back to the Requested Workouts tab itself; if you have any requests, and then click on the requesting member's photo, more detail about their request will be displayed:

Using the two buttons at the bottom right, you can then choose to send this member one of your existing workouts (from your My Workouts Tab), or create a new workout specifically for them.
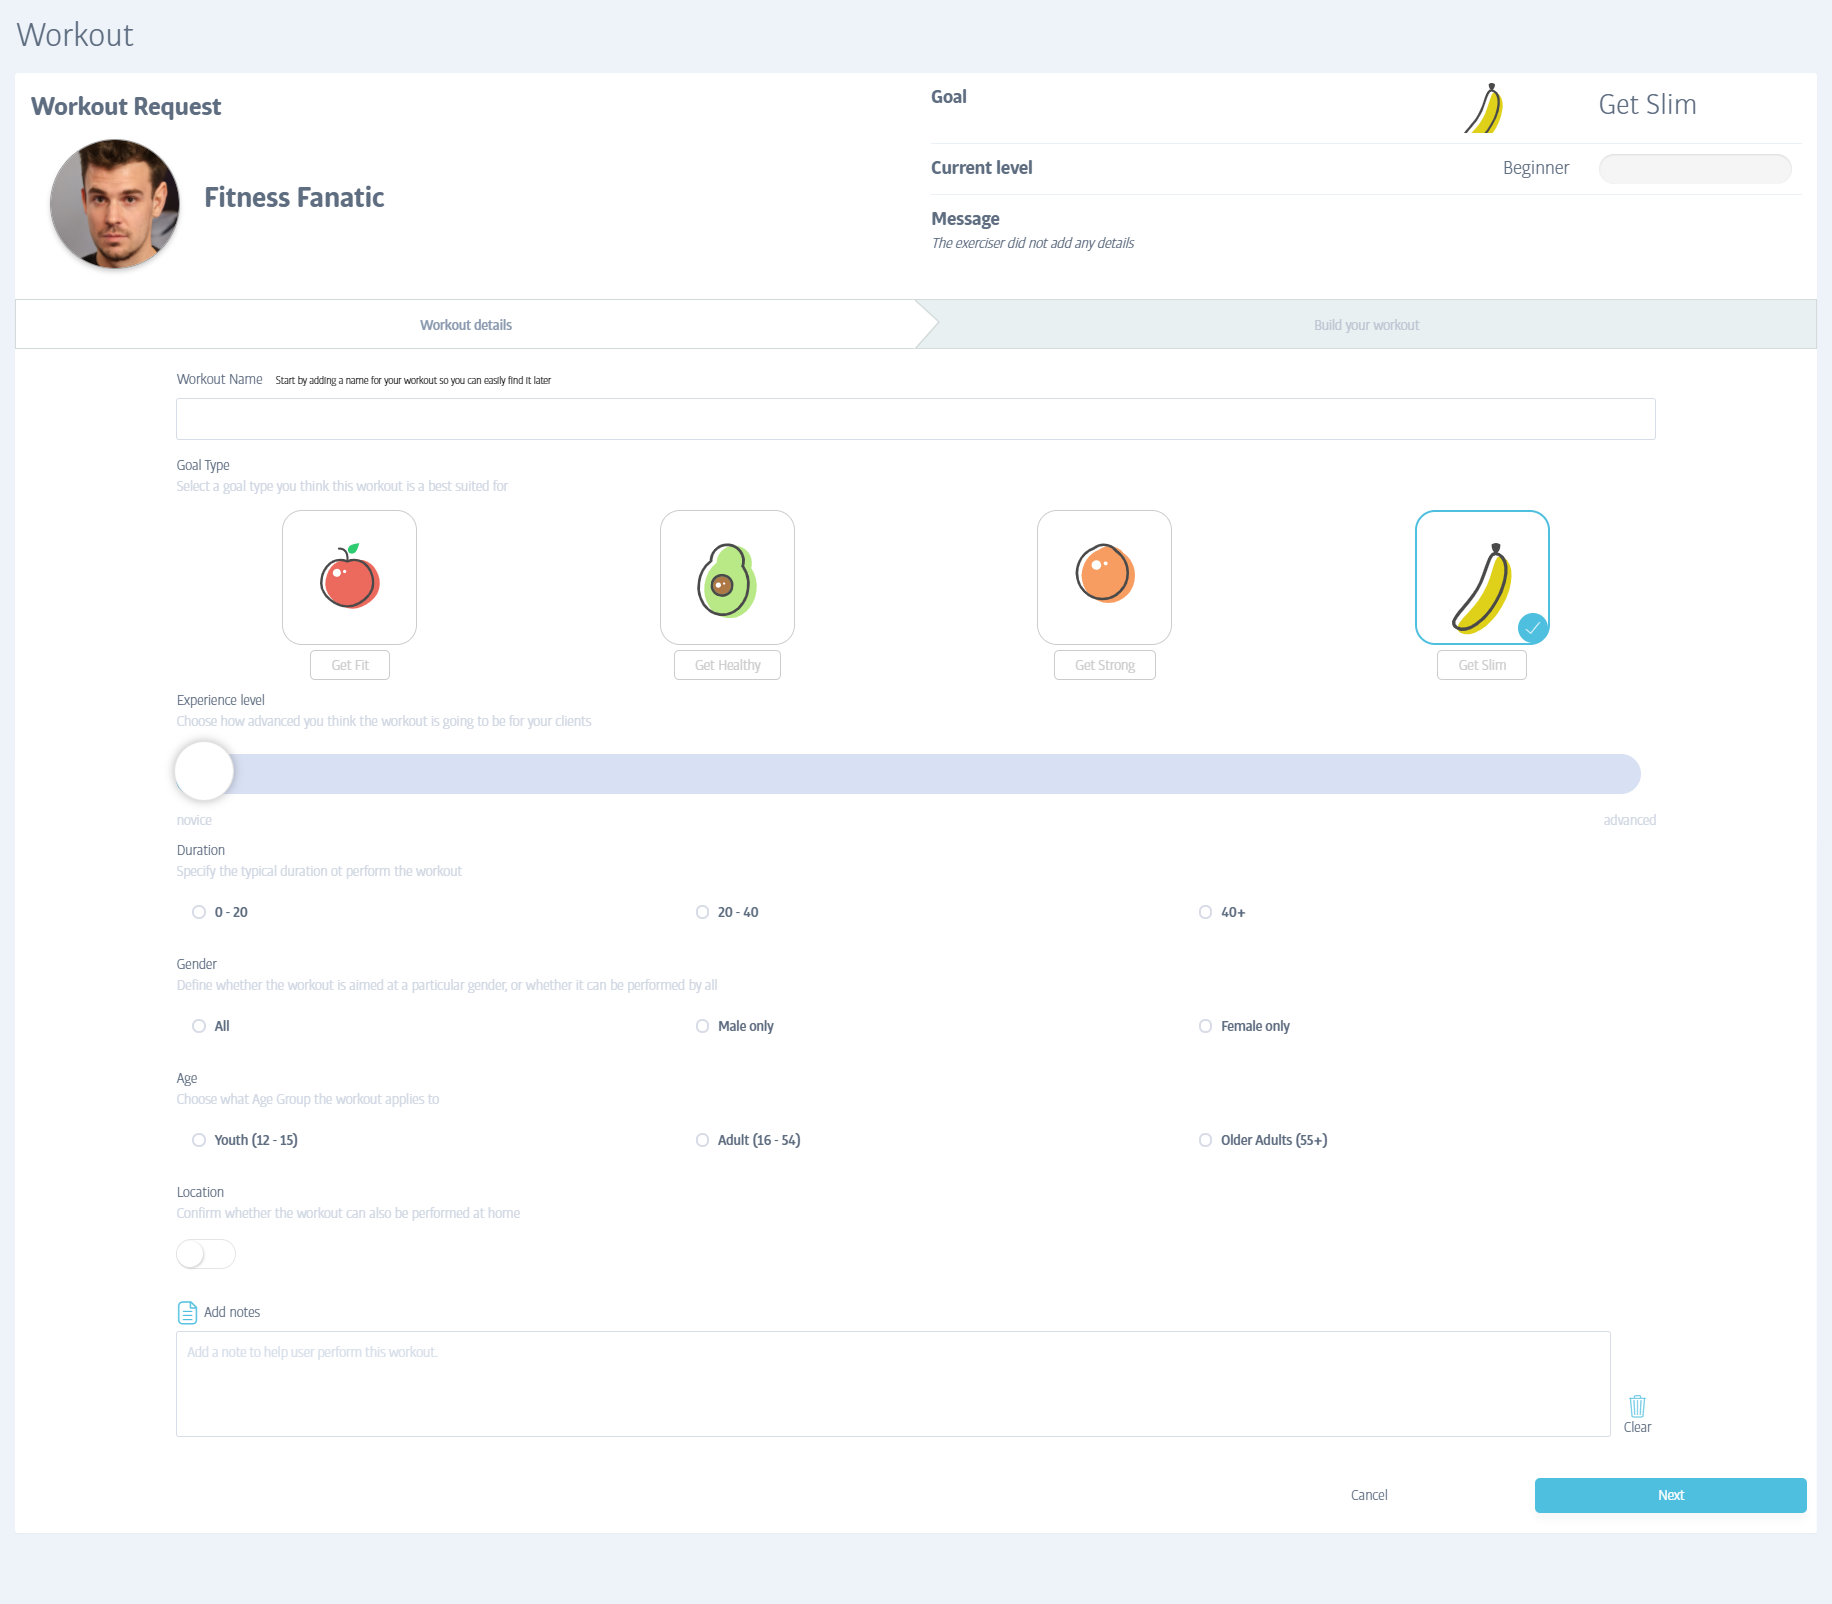
Creating a requested workout shows the usual workout creation windows below a reminder of the requested workout details:
Create A New Workout
A Workout is an ordered group of exercises taken from the large exercise library built into the software (there are several hundred exercises but you can easily add more if required!)
Designing a new workout involves providing some basic workout details, and then choosing any number of appropriate exercises from the exercise library, along with any relevant information - sets, reps, weight, etc.

In Step 1, the basic workout details are entered. The first two items are the workout name, and the type of goal the workout is designed to help users achieve (this coincides with the four basic goal types that members can define in the mobile app - Get Fit, Get Healthy, Get Slim or Get Strong). Other fields define the suitability of the workout for youths, adults or older adults, and gender. There is also space to add notes to help or advise exercisers about the workout.
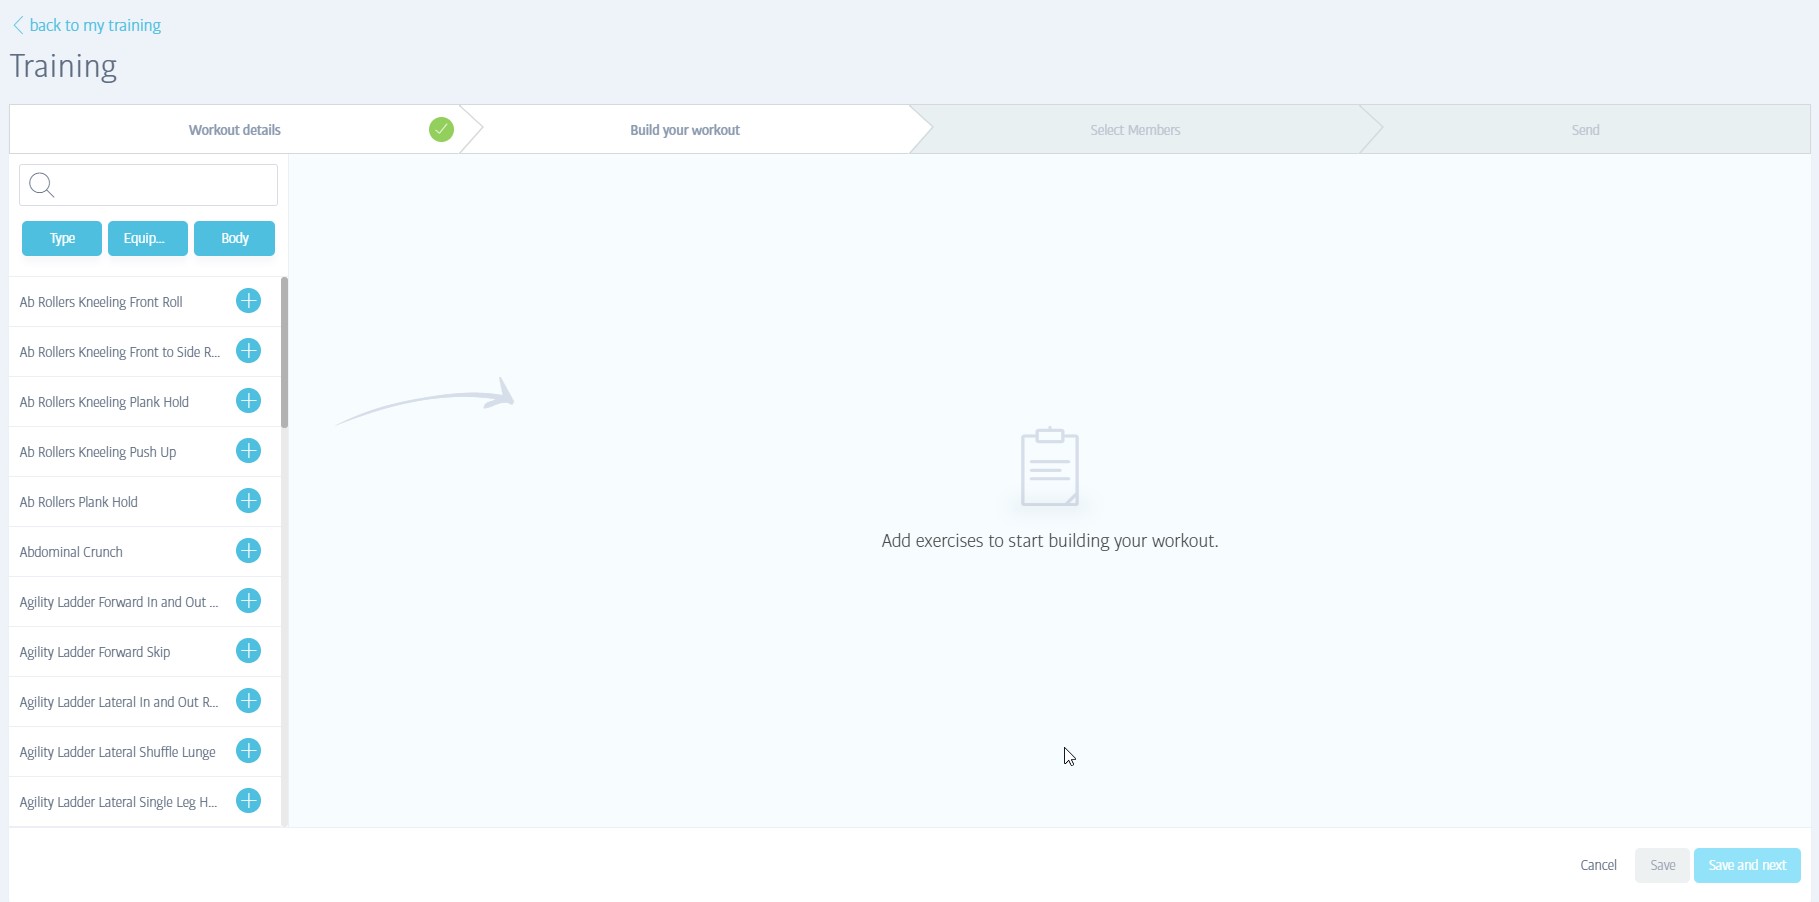
The next screen allows you to add individual exercises that you want to include in your workout; the full list of available exercises is listed down the left-hand side of the screen, and you simply click on them to add them to your plan.
To help you locate specific exercises, you can use the search box above the exercise list to search for a fragment of the exercise name. Alternatively, you can use any of the three filter types separately or in combination to narrow down the list. To activate a filter, click on it and choose from the available types - you can pick several at once, e.g. arms and shoulders (to close the filter list, click the filter name again):
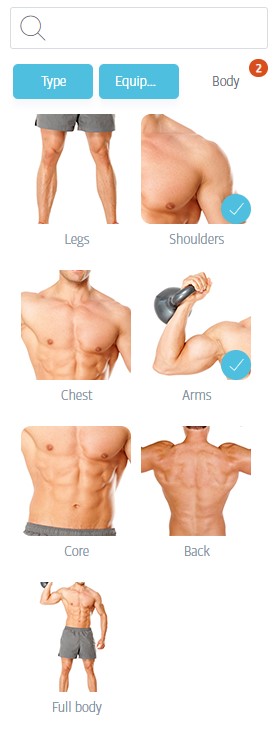
You can combine filters too, so you might choose arms as the body part, and cable machine as the equipment for example.
Once you select an exercise, you are given a video preview of the exercise being performed to act as a visual confirmation. This video can also be seen by exercisers, and serves as a great reminder of how to perform the exercise correctly! If it is the exercise you intended, you can add any number of sets, reps, duration, etc. as appropriate:
Keep adding exercises until the workout is fully defined. Note that if you move your cursor over an exercise that has been added to the workout list, small arrows appear to the left side of the exercise. You can drag any exercises to reorder them (click and hold on the small squares), push them up or down by a single slot (the single arrows), or push them straight to the start or end of the workout (the top and bottom arrows):
Click Save to finish creating (or editing) the workout and return to the workouts list. The workout is technically complete now, but depending on the type of workout you are creating (e.g. My Workouts), there may also be a button labeled Save and Next - this is to allow the workout you just created to be sent directly to a member or members. If you select this option, there will also be a step 3 and 4, below:
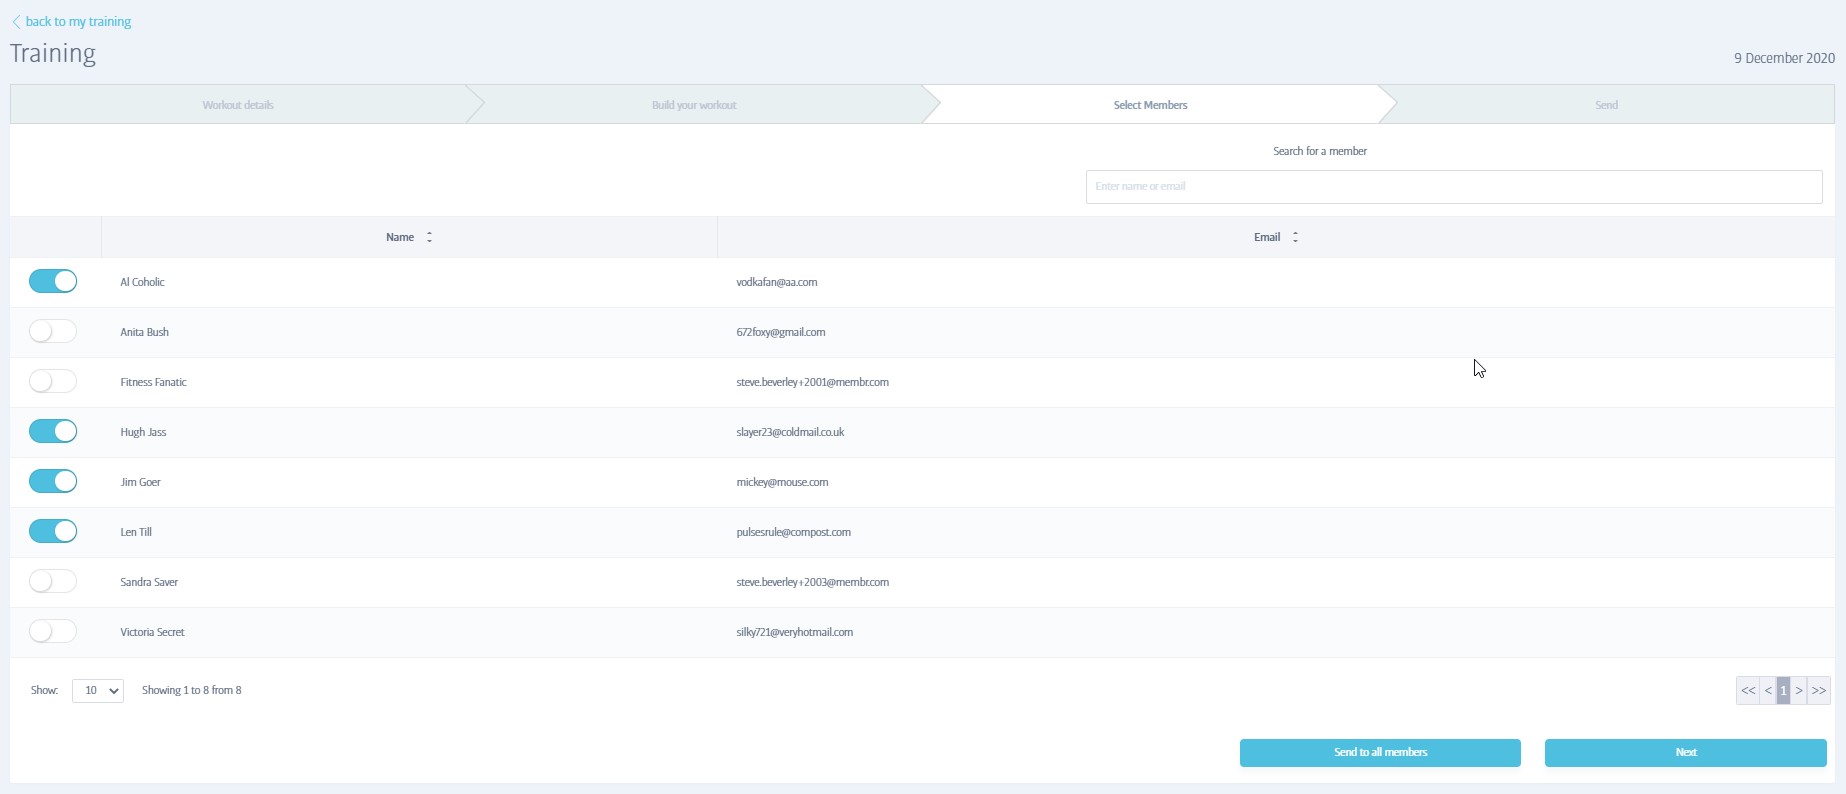
In the Select Members step, you are given a list of all members assigned to the logged-in member of staff. To send the current plan to any of these members, enable the toggle to the left of their names and click Next when you are done (or use the 'send to all members' button at the bottom of the screen).

In the final step, you are given a reminder of the plan name and the list of members you want to send it to - click tabs 1,2 or 3 at the top of the window in order to make changes to earlier steps, such as the plan itself or the recipient choice. When you are satisfied click Send and the process is complete!